Have you ever needed to create a huge number of pages for your website?
It’s hard right!?
You may have a travel site and you want to make a page for every destination your customers can travel to, or a gaming site where you want to make information pages for all weapons in a game.
You could draft a brief, and hand it over to your writers. But unless you’ve got a huge team ready to go or a big budget for hiring a content agency you might be wondering if there’s a way to make your life easier.
In this article, we’re going to run through how to create pages at scale in a super flexible and organic way that can create and enhance user journeys with examples of how we’d do this for a travel site using our Topic Cluster Page Builder Sheet. Download your own sheet below and follow along.
Read on and find out how you could save yourself a ton of time and money.
Collecting Your Ideas
Let’s look at an example around “How to Get an X Passport” on our travel website. Some of these pages are ranking for some strong keywords in Google search results and in relevant countries. Others do well but could do so much better
There are a few key things we’ve noticed on the pages that do well compared to those that have potential, and many opportunities to fill gaps in our content with countries that are missing to create better user journeys and create some new journeys.
What we’ll be doing is optimising the pages that already exist, expanding our current set of pages for countries that we don’t have pages for, and prioritising where to focus our efforts to spend our time effectively.
We’ll be doing this with a page template filled in a merge-field-style Google Doc (which we’ll cover in another post) because we need to then provide this to developers to publish the pages.
Preparing our Spreadsheet
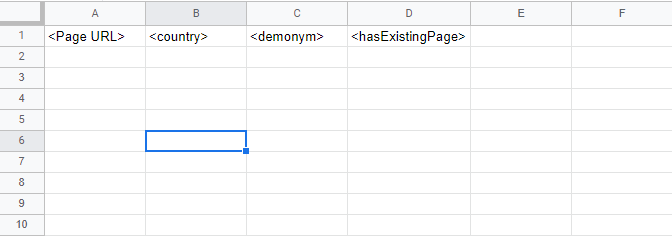
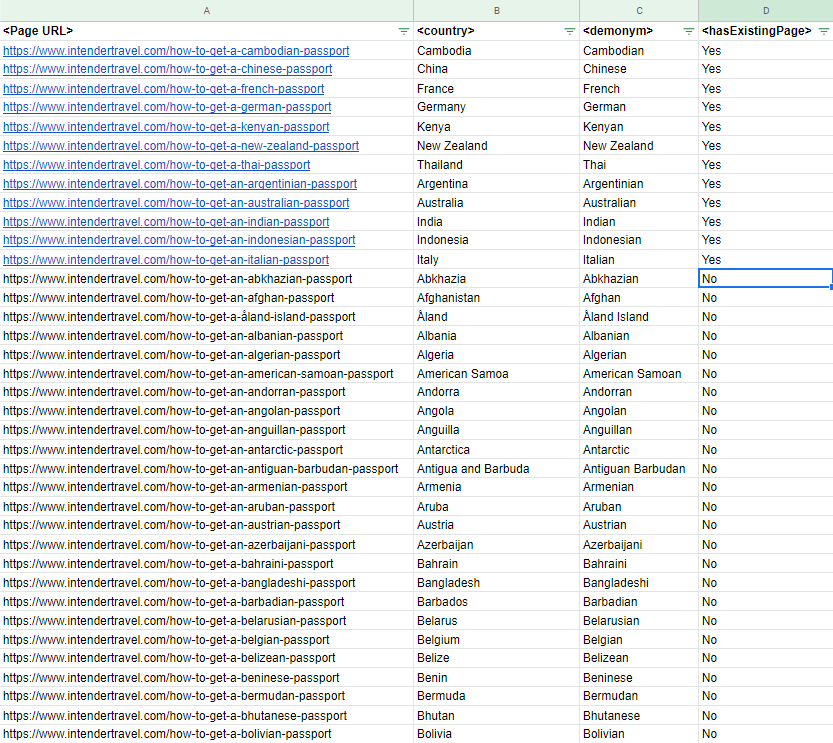
Starting with a blank spreadsheet with Google Sheets. Let’s start with some obvious column headers like our URL, Country, Demonym (I had to Google what this was called but basically it’s words to describe where someone is from like Australian, British, American etc.), and whether that page exists already. Since we’re also going to be building this with a merge-style template, let’s make the headers into tags for later.
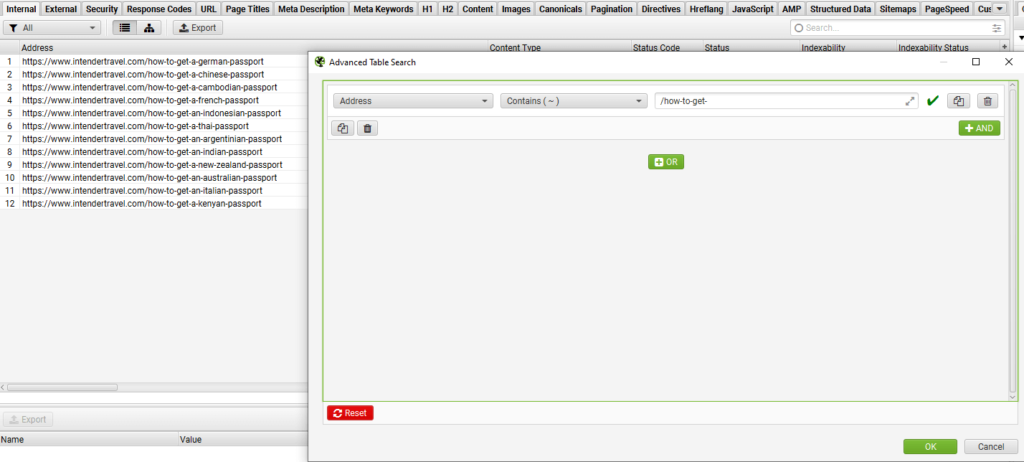
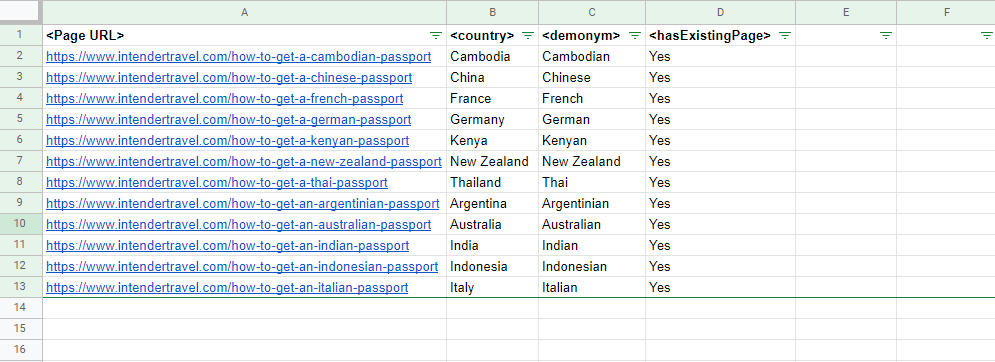
Then, we populate the pages we’ve already got on our website. The best way to do this quickly is to use everybody’s favourite web crawler Screaming Frog. Filter by the common parts of the URL, in this case “/how-to-get-” and it comes back with the URLs we need to get going.
Now that we’ve got our list of existing pages to optimise, we need to find other countries that we can build pages for and preferably find a list with the demonym for each country so that we don’t need to go through them one by one adding them.
Luckily, we found a great Wikipedia article that has everything we need. The data just needs a bit of a clean up so we’ll just do that in a separate sheet and bring that across.
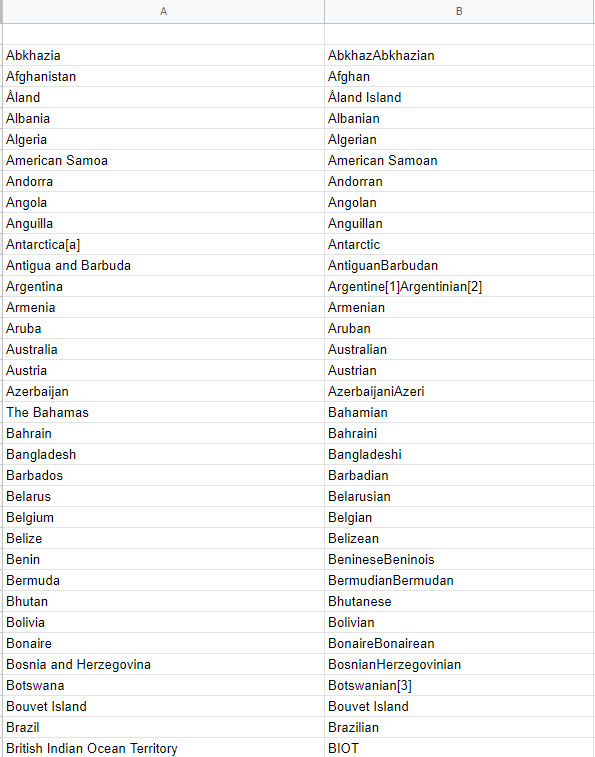
In typical Wikipedia fashion, there are some citations and alternatives in the cells so we remove those and add some spaces between the words until it’s in a place where we can start to work with this data.
Building our URLs at Scale
Let’s get started with building the URLs where these pages are going to be located. We’re going to do this with a formula but there are a few things that we need to consider.
Consistency is our friend here so we already know that 90% of the URL path is going to be “https://www.intendertravel.com/how-to-get-a-x-passport“.
So we start with a fairly simple base formula:
="https://www.intendertravel.com/how-to-get-a"&C14&"-passport"With this, we get a URL like “https://www.intendertravel.com/how-to-get-aAbkhazian-passport” which isn’t exactly what we need but it’s a good starting point.
What we need to get us to a useable URL is:
- Hyphens between words,
- All characters are lowercase, and most importantly
- Appropriate choice of “a” or “an” if the country’s first letter is a vowel or a consonant.
With this in mind, we need to utilise the following formulas:
- IF – to decide whether we use “a” or “an”
- OR – to specify which letters are vowels
- LEFT – to isolate the first letter within country names to identify vowels
- LOWER – to make all characters lowercase
- SUBSTITUTE – to replace spaces with hyphens for the final URL
Our final formula ends up being something like this:
="https://www.intendertravel.com/how-to-get"&IF(OR(LEFT(E14,1)="A", LEFT(E14,1)="E",LEFT(E14,1)="I", LEFT(E14,1)="O", LEFT(E14,1)="U"),"-an-","-a-")&LOWER(SUBSTITUTE(E14," ","-")&"-passport")With this, we get some very nice and natural-looking URLs that we can copy down until we have one for each country.
You may need to add some additional rules to the formula with more “LEFT” parameters to account for demonyms like “Ugandan” because “an Ugandan passport” isn’t correct. For this, we’d add “LEFT(E14,2)=”UG“.
Once all countries have the correct “a” or “an” in the URL, we can start building the content.
Building Content Fields
So while we will be using a template to bring this all together, we want to set what we will be filling that template with. Using a mixture of short fields to fill boilerplate sections with things like the country name and things like that, and fields that can be entire paragraphs on their own.
For these pages, we want to have a little background about the country, required documents to obtain a passport in this country, requirements for eligibility, the process for submitting your application and basically any other parameters that we will use consistently across all pages but are different per country.
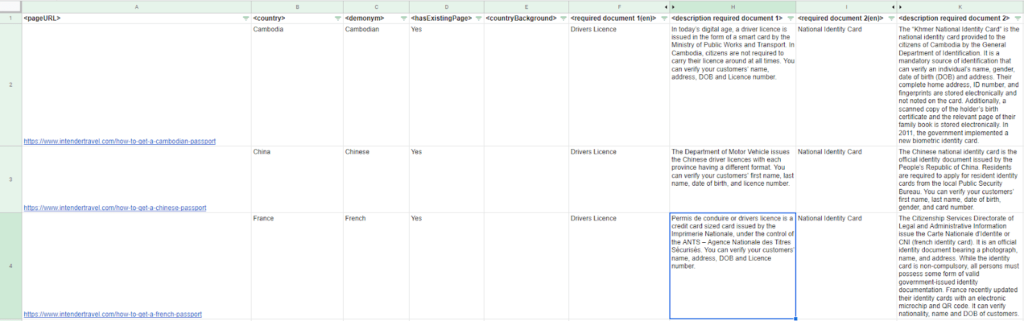
As we start adding this information, you can start to see the shape of what these pages will eventually become.
Adding Localised Language
One of the main reasons that we decided to enhance these pages and expand this part of intendertravel.com is because we noticed that not only did these pages do well, but those pages that had local language throughout the content performed better than those that didn’t.
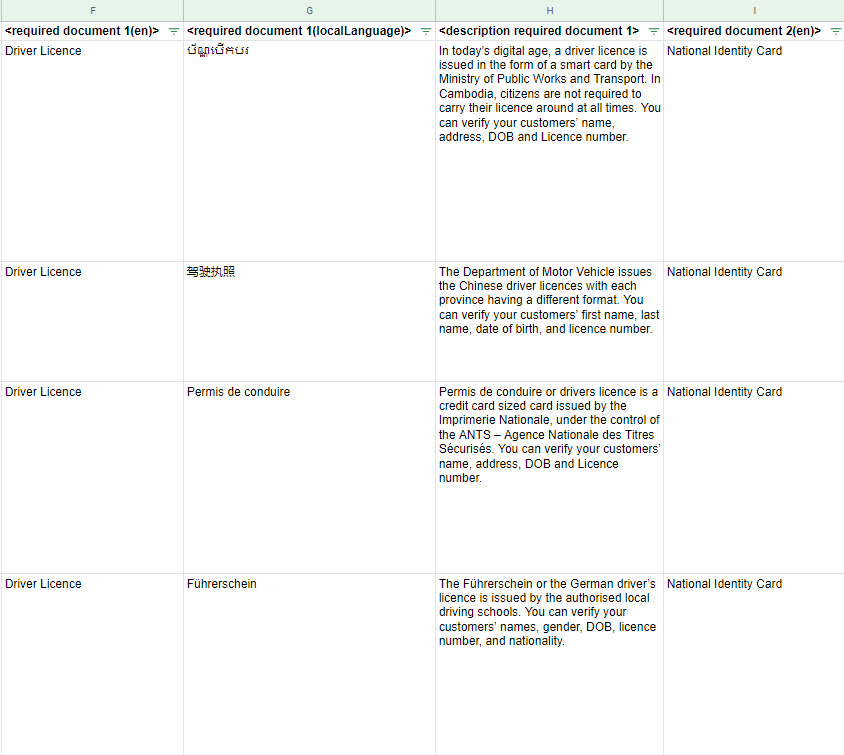
So, the next thing we want to do is add translations of some fields so that we can have a heading like this: Driver Licence (Führerschein).
Luckily, Google makes this easy for us so that we don’t need to go through and translate everything manually, Google Sheets has a formula for this too.
There are a few steps to this process but once it’s finished it’s infinitely scalable.
Preparing Our Translations
Unfortunately, we can’t just ask Google to translate English to German in natural language, we need to follow the international standard ISO-639-1 identifiers (ie. “en” for English, “de” for German, “es” for Spanish).
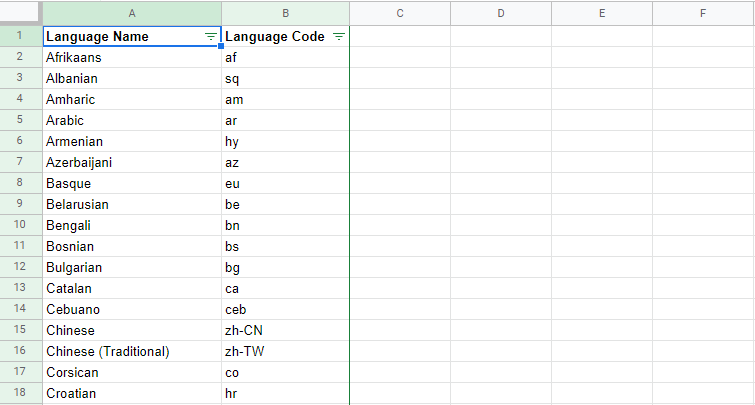
We don’t want to go through each country individually and add the language identifiers so we’re going to make a new sheet called “Translations” which we will reference in our final language translation formula.
We need to check Google’s Cloud Translation Documentation to copy the supported language codes and paste them into the “Translation” sheet.
One thing worth noting is that you’ll need to set either “simplified” or “traditional” to just “Chinese”, otherwise the language will not be found.
There are also some other changes you may need to make to the data. For example, the language of Cambodia is Khmer so change “Khmer” to “Cambodian” and the cell will be referenced properly. Similarly, there are many other countries that speak French, Spanish, etc. so set those as needed.
Once you’ve got the languages all set, time to bring the translation formula to life.
Building the Translation Formula
Now it’s time to build a flexible translation formula that we can use throughout the sheet.
Let’s start simple with an English-to-German translation. The basic formula we’re using looks like this:
=GOOGLETRANSLATE(F2,“en”,“de”)This gives us a simple translation from English to German and we’ve got a base to work from.
Now we can add another layer to this formula with VLOOKUP to reference our “Translations” sheet. So we’re using the column, cross-referencing that with both columns of the “Translations” sheet, then showing column 2 which is the country code identifier we need.
Now our formula looks like this:
=GOOGLETRANSLATE(F2,“en”,(VLOOKUP($C:$C,Translations!$A:$B,2,false)))Now that’s looking pretty good but we have the issue of the acronym in parentheses after the translation.

As with the URL formula, there are a few things to consider, mainly the types of data we’ll be translating may have acronyms and abbreviations and other bits we don’t want to be translated. Take an organisation name like “Federal Bureau of Investigation (FBI)”, we don’t want (FBI) to be included in the output, or for the acronym to be translated.
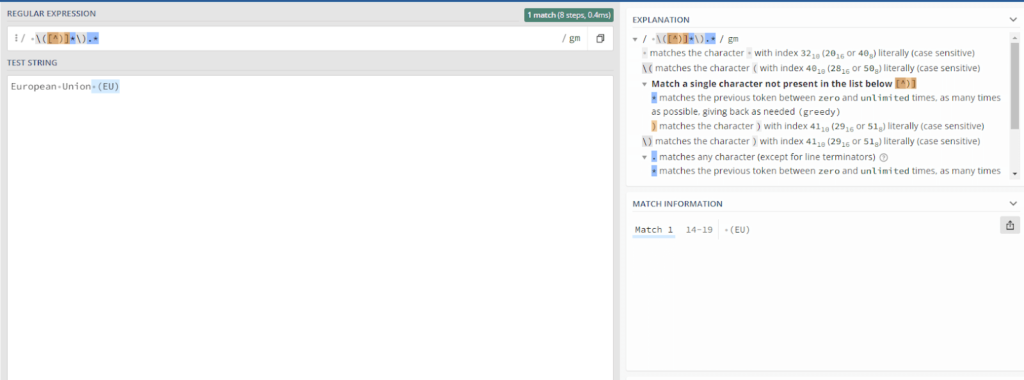
That brings us to RegEx. RegEx (Regular Expressions) helps us to find common patterns of text. A great tool for this if you’re not a RegEx master is RegEx101.com which can help you build and test RegEx strings.
With RegEx, we can choose almost any pattern of text to remove to suit our needs. Essentially, for our needs right now, we want to remove everything starting from when RegEx finds an open bracket “(“.
Using RegEx101.com, we found a pattern that does what we need:
“ ([^)]).”
To bring this all together in a formula, we add a REGEXREPLACE layer to the formula and just so we don’t get error messages when there’s no translation to be found, we’ll add an IFERROR layer too.
=IFERROR(GOOGLETRANSLATE(REGEXREPLACE(F2," \([^)]*\).*",""),"en",(VLOOKUP($C:$C,Translations!$A:$B,2,false))),"")Now with this super formula, we get a perfect output for what we need and the time spent making this can save hours of copy/pasting between Google Translate and Google Sheets.
Prioritising Your Pages
At this stage, we’ve created efficiencies that have saved us a lot of time but there’s still real-world information that needs to be populated throughout this sheet. The question then is, where to start?
What will carry the most value in SEO and the user journeys that you’re creating?
The answer is…keywords!
What we’re looking for here is search demand and a quick way to quantify what is going to be worthwhile.
The time spent looking into finding the perfect keyword for each page is a personal choice but right now we’re not looking for anything too heavy or in-depth right now, just something simple that will give us somewhere to start. Also, luckily for us, passports are a very universal concept throughout the world.
Time to build some keywords!
Let’s take our demonyms and copy them to a new sheet called “Keyword Volumes”.
For these pages a simple head term would be something like “countryDemonym passport” so let’s do a simple concatenate formula:
=CONCATENATE('Content Fields'!C2," passport")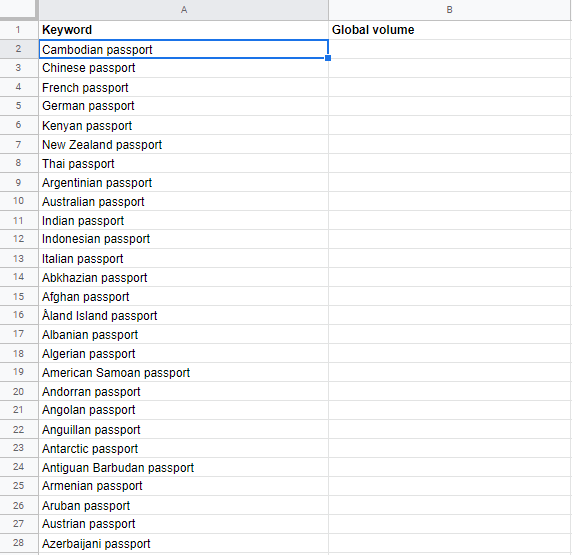
Now we can copy the formula output and throw it into your favourite SEO keyword tool like Ahrefs, SEMrush, KeywordTool.io, Ubersuggest, etc.
Hopefully, your keyword tool lets you analyse this many keywords at once. I’m using Ahrefs for this and I can already see some great potential here.
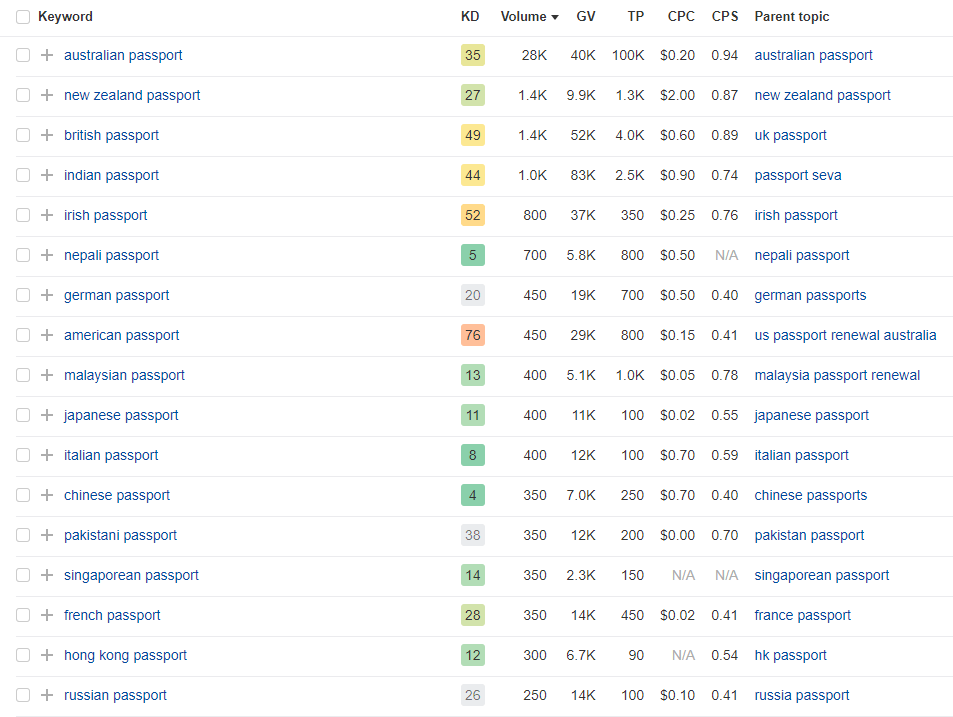
Since this site has a global audience, I’m going to be taking Global Volume but do whatever best suits your needs. Export your results and put that data into the “Keyword Volumes” sheet, replacing your original concatenate formula as we don’t need that anymore.
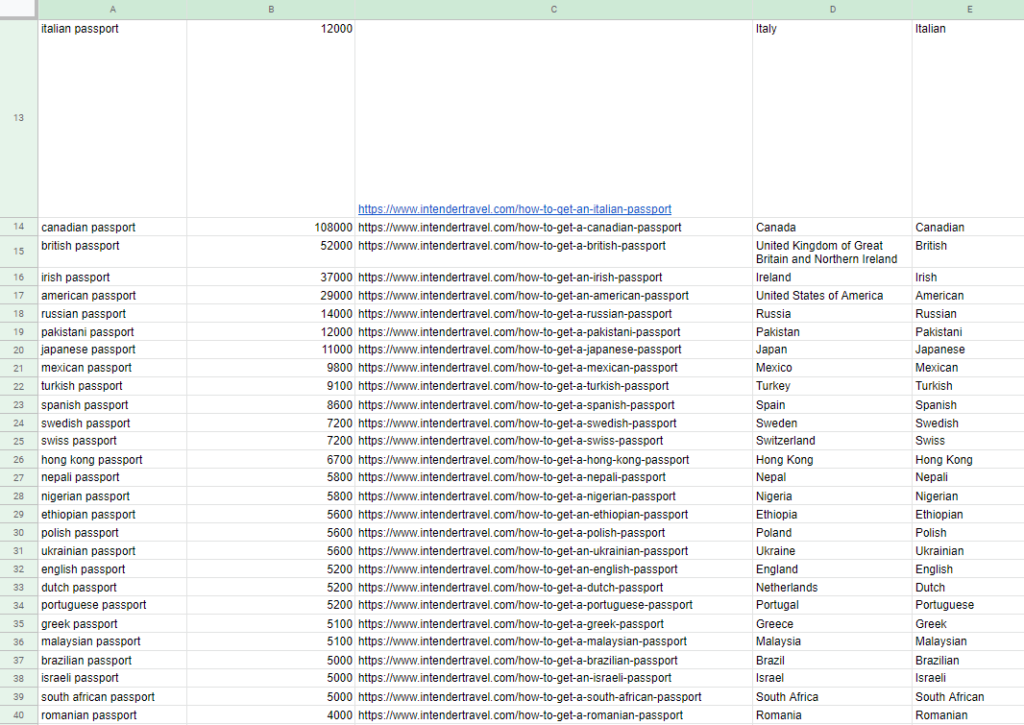
Now, we pull that data across into the “Content Fields” sheet with a VLOOKUP to save us some time.
Create two new columns in that sheet, in the first, add the following formula to Column A which will show whether the country has a keyword.
=VLOOKUP(E2&" passport",'Keyword Volumes'!A:B,1,false)Then, add the following formula to Column B to see the corresponding volume for that keyword.
=VLOOKUP(E2&" passport",'Keyword Volumes'!A:B,2,false)To finish off let’s sort just the pages we don’t already have because they’re already a priority and now we have a nice prioritised list of pages to start working through with some data to guide us.
Adding Your Data
Now that we’ve got the hard work out of the way, it’s time for you to fill your content fields with relevant information for each country we’re building a page around. There may be some efficiencies we can make in this case with things like “Driver License” which is fairly universal and can be used throughout every page. In most cases though, you’ll still need to spend the time to either find or write accurate information for these sections.